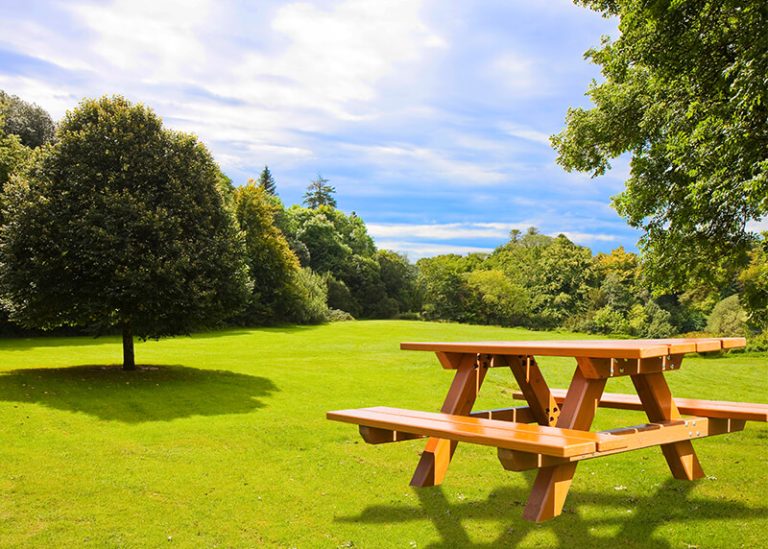
There are many benefits to having a picnic table in your backyard, from having a relaxing space to read or work to hosting meals with friends and family. And, while there are many tables available for purchase, building your own is affordable and will instill a strong sense of pride once the job is done. Plus, constructing a picnic table is simpler and less time consuming than you think. Follow these step-by-step instructions for a long-lasting addition to your landscape.
1. Determine the Size
The first step is all about choosing the size of your picnic table. This is an important consideration to make, as the size will determine what size lumber you need and how much cutting will be involved. For instance, an average-sized table requires fifteen 2 x 6 boards that are 72 inches long and seven 2 x 4 boards that are 30 inches long.
2. Gather Your Supplies
To construct a picnic table, you’ll need to purchase durable, pressure-treated wood planks. There are many wood options, including southern yellow pine, red cedar, redwood, and Douglas fir. Cedar, in particular, is one of the most durable. However, it’s wise to consider a wood that suits the location of your home as well as the weather conditions you experience.
You’ll also need fasteners, a tape measure, and a circular saw to cut the boards. But, you can save time by having them measured and sawed for you at the store. In addition, ensure you have safety goggles, a dust mask, and gloves to keep you protected.
3. Make the Legs
This is the first step you’ll take in the construction phase. To begin, cut four legs for your picnic table out of 2 x 6 lumbers using your saw, ensuring you cut the legs on an angle. Next, lay the legs on the ground in pairs. Work on connecting a pair at a time by first angling the two legs towards each other, mimicking the shape of an inverted V. Then, place a new plank of wood across the middle of the legs, almost forming the letter A. This will serve as the support beam for each set of legs. Then, fasten the legs to the support beam using screws that are three inches long. The two sets of legs will look similar to the letter H but with a deeper angle.
4. Construct and Secure the Frame
Now that you have the legs in place, continue building upward by moving onto the frame that will support the picnic table’s top. Cut the planks so that your table won’t be too wide. Then, reinforce the frame with two diagonal braces, cut from the wood you’ve been using, by placing the braces between the seat support and tabletop frame. Now, secure the frame to the top of the legs you’ve already built by using screws. Use a pipe clamp to help hold the parts in place if necessary. Finally, once everything is in place, secure the screws with carriage bolts.
5. Build the Tabletop and Seats
Now that the frame of your table is complete, you need to fill in the top. Crosscut the wood to be 10 inches wider than your tabletop frame. This will allow a five-inch surface extension on each end. Once you secure the tabletop to its frame, you’ll also need a place to sit. Connect two boards per bench, and then attach to the support beams of the legs.
Friel Lumber Has What You Need
Before you know it, you’ll have your very own custom-built picnic table right in your backyard. When you’re ready to get started on your project, head over to Friel Lumber in Queenstown. Our lumber yard is fully stocked with only the highest quality materials that you’ll need for your new picnic table. To learn more, contact us today toll-free at 800-739-2676.

